How to build a raised bed

To get started, you need to do a bit of planning:

Decide how big your raised bed is going to be.

When planning your raised beds it’s important to remember you’ll need to be able to access and work on it without having to stand on the bed, as this will flatten the soil. You’ll also need to make a path around the bed so you can get to it easily.

The minimum width for walking is usually about 30cm and if you want to use a wheelbarrow then you will need to allow sufficient additional access. If you make the paths too narrow, the bed will be too difficult to work on. If you or anyone who will be working in your garden uses a wheelchair or other mobility aid then you’ll have to take this into account too.

Product Images- Raised bed planter with rake 2

Decide what your bed is going to be made from.

Raised beds can be made from various materials. You need to decide what your budget for your new project is and whether you want this to be a permanent feature of your garden. There are three main options when sourcing your materials:

  1. Recycle materials such as timber planks
  2. Purchase timber or masonry from local builders merchant or DIY store
  3. Buy readymade kits from suppliers such as:


The cheapest option is timber although bear in mind that even treated it will not be as long lasting as some options. Railway sleepers look great and last a long time but can be expensive and quite difficult to lift and cut to size. Use sleepers which are untreated or treated with non-toxic preservatives. An alternative is second-hand scaffolding planks. Masonry is attractive and permanent but can be an expensive option and it’s worth seeing what you can find at reclamation yards or recycle from other areas of your garden.

Building your raised bed.

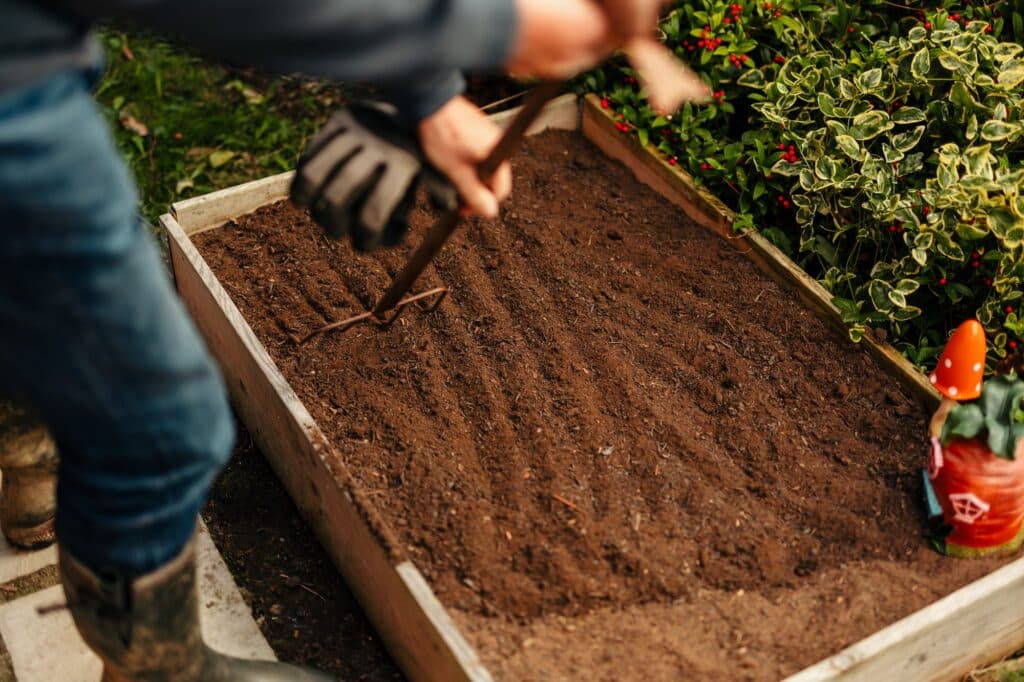
There are a few steps involved. Building a raised bed is not a five minute job but once the initial construction is complete, your bed should be easy to maintain and worth the effort for many growing seasons to come. Our quick guide assumes you are using timber to construct your raised bed but you can adapt this if you are using masonry or follow the manufacturer’s instructions if you have purchased plastic panels.

  1. You’ve already decided on the site and dimensions of your new raised bed. You need to clear away any existing vegetation and level the ground where the bed will stand if necessary.
  2. Using string and stakes, mark out the area of your new bed. You can use a spirit level to check that you are not on a slope and everything is straight.
  3. Make a cutting list for your boards and cut your timber panels to size.
  4. Stout internal corner posts (2 x 2 inch timber) should be used. It’s a good idea to treat these as they will be in contact with the ground and will be prone to rot over time. Sink them 12 to 18 inches into the ground to support the panels. For extra stability for a larger bed, sink additional stakes every 5ft to support the sides.
  5. Using non-rusting screws, attach your panels to the corner posts.
  6. For a useful finishing touch you can fit a decorative finial on top of each corner post. Not only does this add to the general appearance of your raised bed but it will prevent your hosepipe being pulled across the plants when you water.

Filling your raised bed with soil.

  1. Now it’s time to work on your soil. Cultivate and enrich the underlying soil with well-rotted compost or other organic matter. Dig well to ensure any perennial roots are removed and the soil is loosened.
  2. Fill up the bed with layers of good quality topsoil alternated with layers of organic matter such as well rotted compost or manure. Our ‘Selecting the right topsoil’ video gives advice on ensuring you use the right topsoil for your project. Firm each layer down as you work. The soil you use will depend on what you plan to grow in the raised bed. Remember, in a raised bed you can grow plants that don’t usually thrive in your garden because of the underlying soil type that you are working with. Choosing the right topsoil for your project is vital and Rolawn has different grades of topsoil suitable for either specialist or more general planting applications.
  3. Wait a few weeks before planting up the beds to allow the soil to settle.
  4. Raised beds can also be built on top of hard surfaces but will need to be deeper, ideally at least 2ft so plants can root properly.
  5. Your new raised bed is now ready to enjoy.
 

Photo – Harrod Horticultural Raised Beds