Home / Information & advice / Topsoil & compost / Using topsoil / How to create a no-dig bed
There are really no surprises with ‘no-dig’ gardening – as you might expect from the name, it’s all about growing plants without extensive cultivation of the ground.
The technique makes use of natural processes to create fertile and well-structured soils.
Organic matter, such as leaves, that gathers on top of the soil is broken down and absorbed as worms and other insects actively process it.
The presence of these soil-dwellers and the larger particles of organic matter in the earth help to create the necessary air pockets and spread the nutrients needed to maintain the soil health and structure.
Choose a sunny area with good drainage. Decide on the size and shape of your bed – consider starting small for a trial and expand as you get used to the technique.
Beds can be created over the top of lawns or existing borders. Turf, plants and weeds will be suppressed by the layers of paper or cardboard and mulch which you will be placing over them and will eventually compost down. However, if the area contains hardier weeds, such as brambles, it pays to cut out as much as possible – leaving only the softer roots which will break down more easily.
Create an outer wall for the bed using logs, wooden planks, sleepers, bricks or stone and line the base with a 6mm layer of wet newspaper or cardboard. Ensure the covering reaches the edges of the bed and that sheets overlap, to prevent weed growth.
On top of the paper, build up layers as follows:
For a simpler version, you can simply mark out an area on the ground and add the required layers on to the existing ground. However, the raised bed allows a greater depth of good-quality soil and makes it easier for you to reach your crops – but harder for pests to reach them!
Keeping a thick layer of organic matter on top of a no-dig bed helps to prevent weeds from becoming established with less bare soil for seeds to settle and germinate. Dormant weed seeds, that rely on the usual digging-over process to reach the surface, will remain locked underneath the surface and are therefore also less likely to germinate.
Aside from the time you save on weeding, you’ll also find that there is less time required to prepare the bed for planting out and sowing. That’s because the mulching effect of the organic matter maintains the nutrient and moisture levels more efficiently than a regular bed. You should also find the effects of disease and pest damage reduces over time, as the natural balance of the soil is restored, with more beneficial than harmful microbes in the soil.
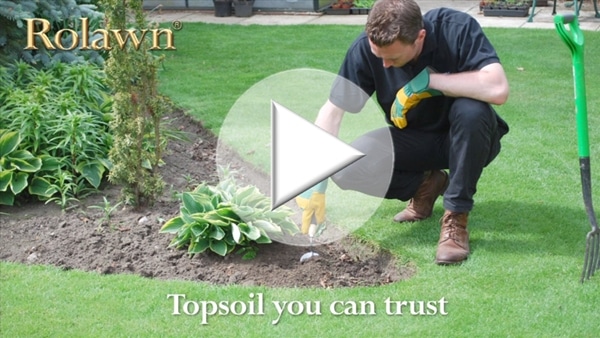
If you choose to add topsoil, it’s a you chance for you to make sure that you are using safe, fertile soil that is fit for purpose. Each of our topsoils are carefully blended to suit the intended task. In addition, as a supplier that cares about the environment, Rolawn uses responsible sourcing protocols.
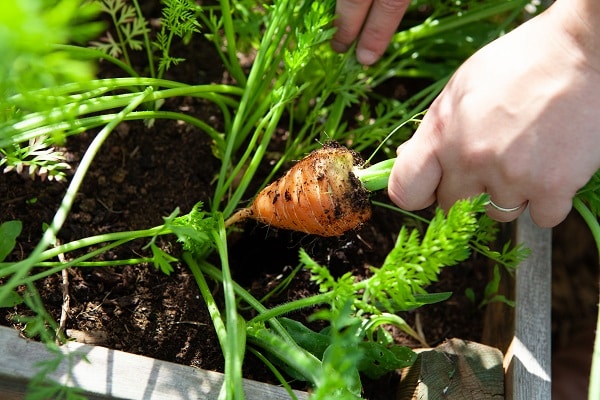
In the early stages of establishing a no-dig bed it is best to start by transplanting seedlings into it rather than sowing directly. Seeds can be sown when the soil has had chance to break down into the finer, more crumbly texture needed for germination.
Various materials can be used as a mulch, however a well-rotted compost works best in a no-dig bed, as it is easier to plant in and less likely to encourage slugs and other pests than fresh grass and straw. If you aren’t able to make enough compost at home, Rolawn Soil Improver is made from composted organic matter and ideal for use as a mulch.