- All Products
- Nature-based Solutions
-
-
-
Useful Tools
Best Seller

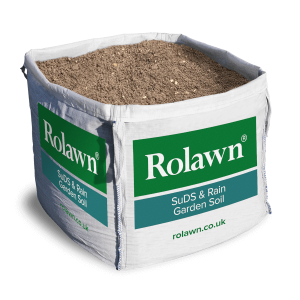
SuDS & Rain Garden Soil
£130.00
-
-
- Turf
-
-
-
Useful Tools
Best Seller
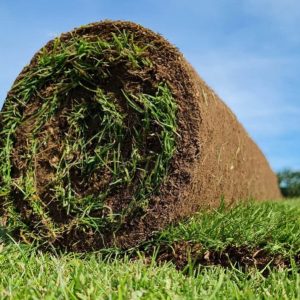
Medallion® Turf
£5.65 - £11.75
-
-
- Topsoil & Soils
-
-
-
Useful Tools
Best Seller
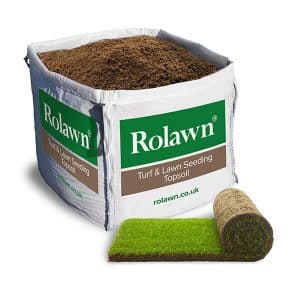
Turf & Lawn Seeding Topsoil
£125.00
-
-
- Bark & Mulch
-
-
-
Useful Tools
Best Seller
-
-
- Compost
-
-
-
Useful Tools
Best Seller
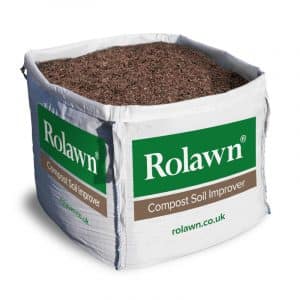
Compost Soil Improver
£105.00
-
-
- Lawn Care
-
-
-
Useful Tools
Best Seller
Lawn Topdressing
£174.99
-
-
- Decorative Aggregates
-
-
-
Useful Tools
Best Seller
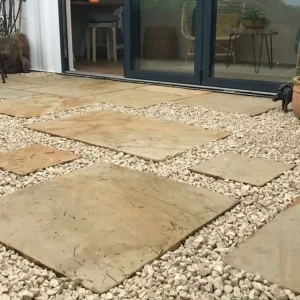
Cotswold Chippings 20mm Bulk Bag
£165.00
-
-
- Sand
-
-
-
Useful Tools
Best Seller
Kiln Dried Sand Handy Bag (20kg)
Pallet of 50 bags @ £6 per bag inc. VAT
-
-
- Special Offers
-
-
-
Useful Tools
Best Seller
Medallion Turf + Turf & Lawn Seeding Topsoil Bundle
from only £179.99
-
-
- Nature-based Solutions
- Product calculator
- Trade customers
- Information & advice
- Turf & Lawns
-
-
-
Popular guides
Information
-
-
- Topsoil & Compost
-
-
-
Popular guides
Information
-
-
- Bark & Mulch
-
-
-
Popular guides
Information
-
-
- Pests & insects
-
-
-
Popular guides
Information
-
-
- Lawn diseases
-
-
-
Popular guides
Information
-
-
- Lawn aftercare
-
-
-
Popular guides
Information
-
-
- Turf & Lawns